Sheet metal is formed by an industrial process into thin flat sheet material stored as large coils, mostly through rolling or extrusion. Many different metals can be made into sheet metal: aluminum, brass, copper, steel, tin, nickel, titanium, etc. Sheet metal is widely used in metalworking, as it can be cut and bent into a variety of shapes to serve many industries. Parts manufactured from sheet metal must maintain a uniform thickness for ideal results.
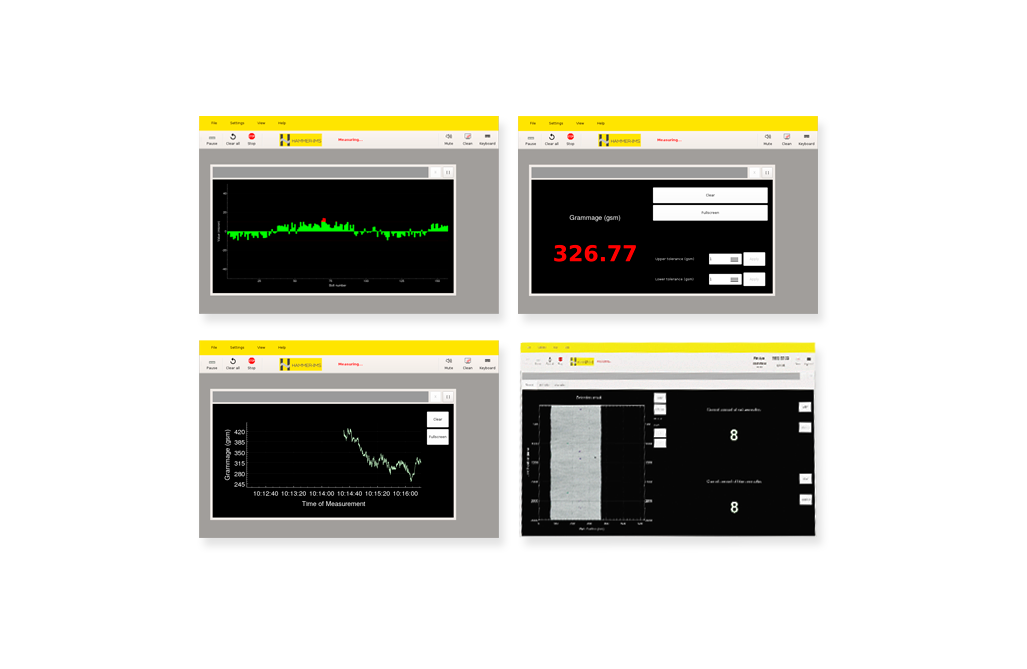
The L-Ray sensor technology of Hammer-IMS applies two opposing laser sensors to measure the differential thickness of sheet metal. The emitted laser spots of each L-Ray sensor must be properly aimed and aligned along the entire measurement span. Inline sheet metal manufacturers benefit from highly accurate and reliability L-Ray sensors, which correctly distinguish between good and scrap product. Metal in general exhibits sufficient reflectivity for laser-based thickness measurement. As a result, the operation of L-Ray sensors is material independent without requiring alloy-dependent calibration.
MARVELOC-CURTAIN-O
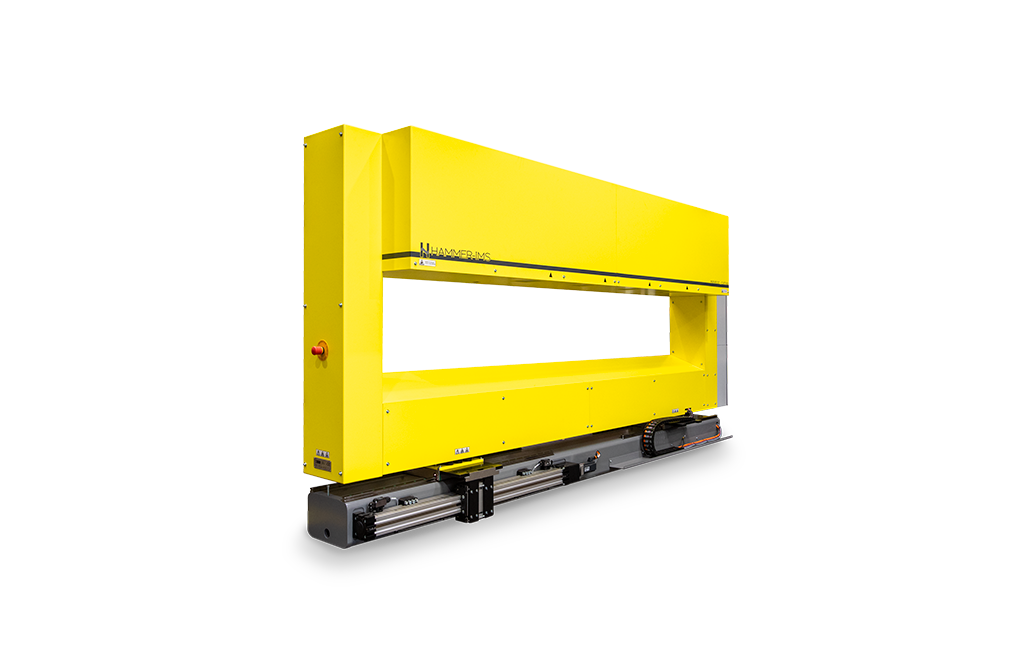
Our CURTAIN integrates our Marveloc technologies enabling full-industrial solutions. CURTAINs are tailored to perform a 24/7 industrial measurement task. Each CURTAIN machine can be equiped by our innovative Marveloc measuring devices of which multiple flavors exist (M-Ray, C-Ray, U-Ray and L-Ray). The CURTAIN itself is basically a rigid metal frame that support high measurement reliability and robustness. The rigidity of the frame guarantees robust measurements even in harsh environments.
MARVELOC-CURTAIN for Labs
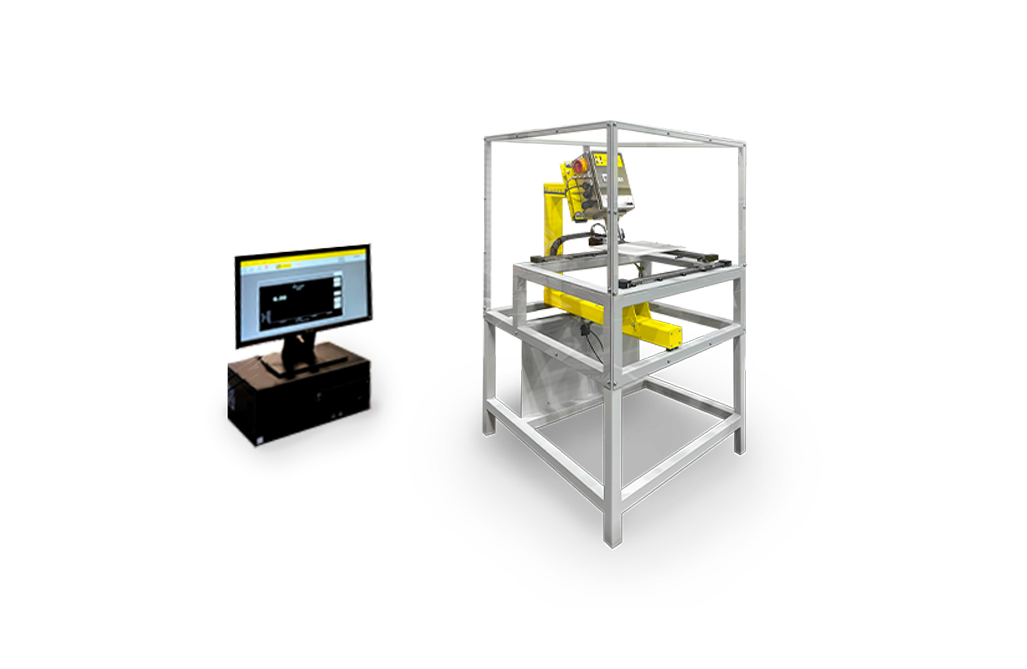
In addition to a range of in-line solutions, Hammer-IMS offers thickness and basis-weight measuring systems for laboratory use. Typically, lab systems consist of a single fixed measurement head, optionally equipped with a feeder and/or scanner. The incorporated M-Ray measurement technology is non-radioactive and non-nuclear, so no increased safety precautions or legal restrictions apply for your lab environment. In-depth measurements from within a lab-environment are typically performed for purposes of: production process optimization; when developing new materials such as nonwovens, plastics or coatings, ...; to investigate used specimens to draw conclusions about endurance, wear and material stability.
MARVELOC-CURTAIN-C
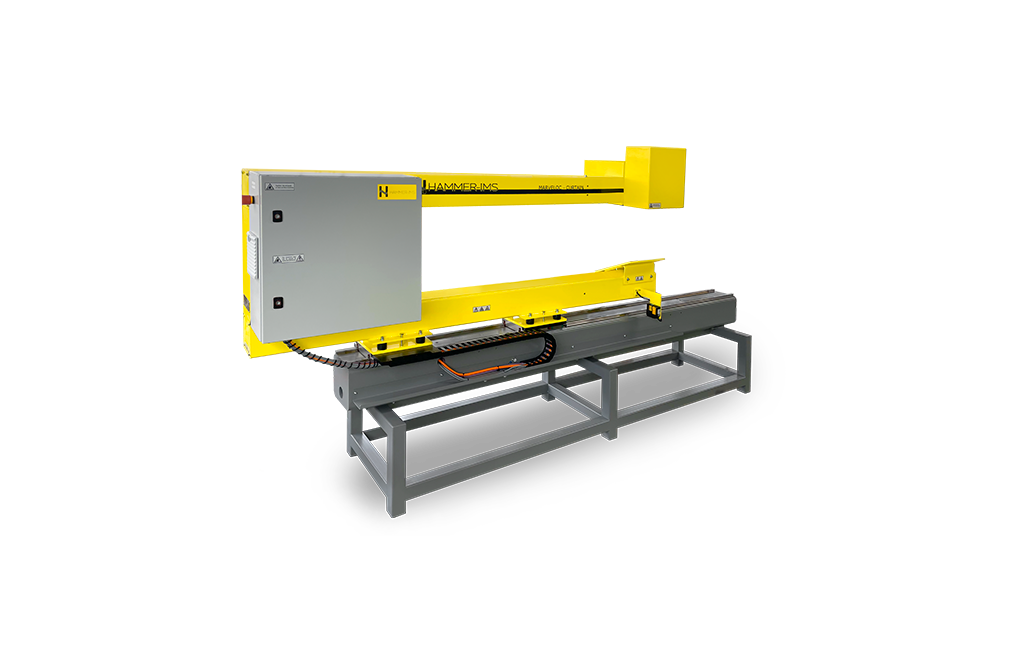
The CURTAIN C-frame system, displayed on the right, uses a 100% classic scanning C-frame concept. Its design is sleek and slim. The CURTAIN itself is basically a rigid metal frame that support high measurement reliability and robustness. The rigidity of the frame guarantees robust measurements even in harsh environments. Each CURTAIN machine can be equiped by our innovative Marveloc measuring devices of which multiple flavors exist (M-Ray, C-Ray, U-Ray and L-Ray). 'Marveloc' brings the power of multi-head to classic C-frame measuring technology. The pure electronic nature of the Marveloc technoloy within this fixed or scanning frame is non-nuclear and non-radioactive. C-frame CURTAIN systems are available with arm lengths up to 2 meter. Such systems are extremely flexible because they can simply be inserted on either side of a production line without interrupting production. C-frame type systems can be used on lines of any material width.
© 2021 Hammer-IMS | Terms & Conditions | Webdesign by Zenjoy